Sarah's post about life hacks mentioned one of my favorite things: "command s"
It got me thinking about computer fluency and my never-ending process of learning new tips to get faster and avoid carpel tunnel.
Are you right-click happy? I know I was for years. Everything was in the right click menu. Need to copy text? Right click. Need to paste text? Right click. Need to (fill in the blank)? Right click. I was addicted to that side of the mouse and it became my go-to. If you have right-click syndrome, you have come to the right blog post.
Here is a techie secret you need to know!
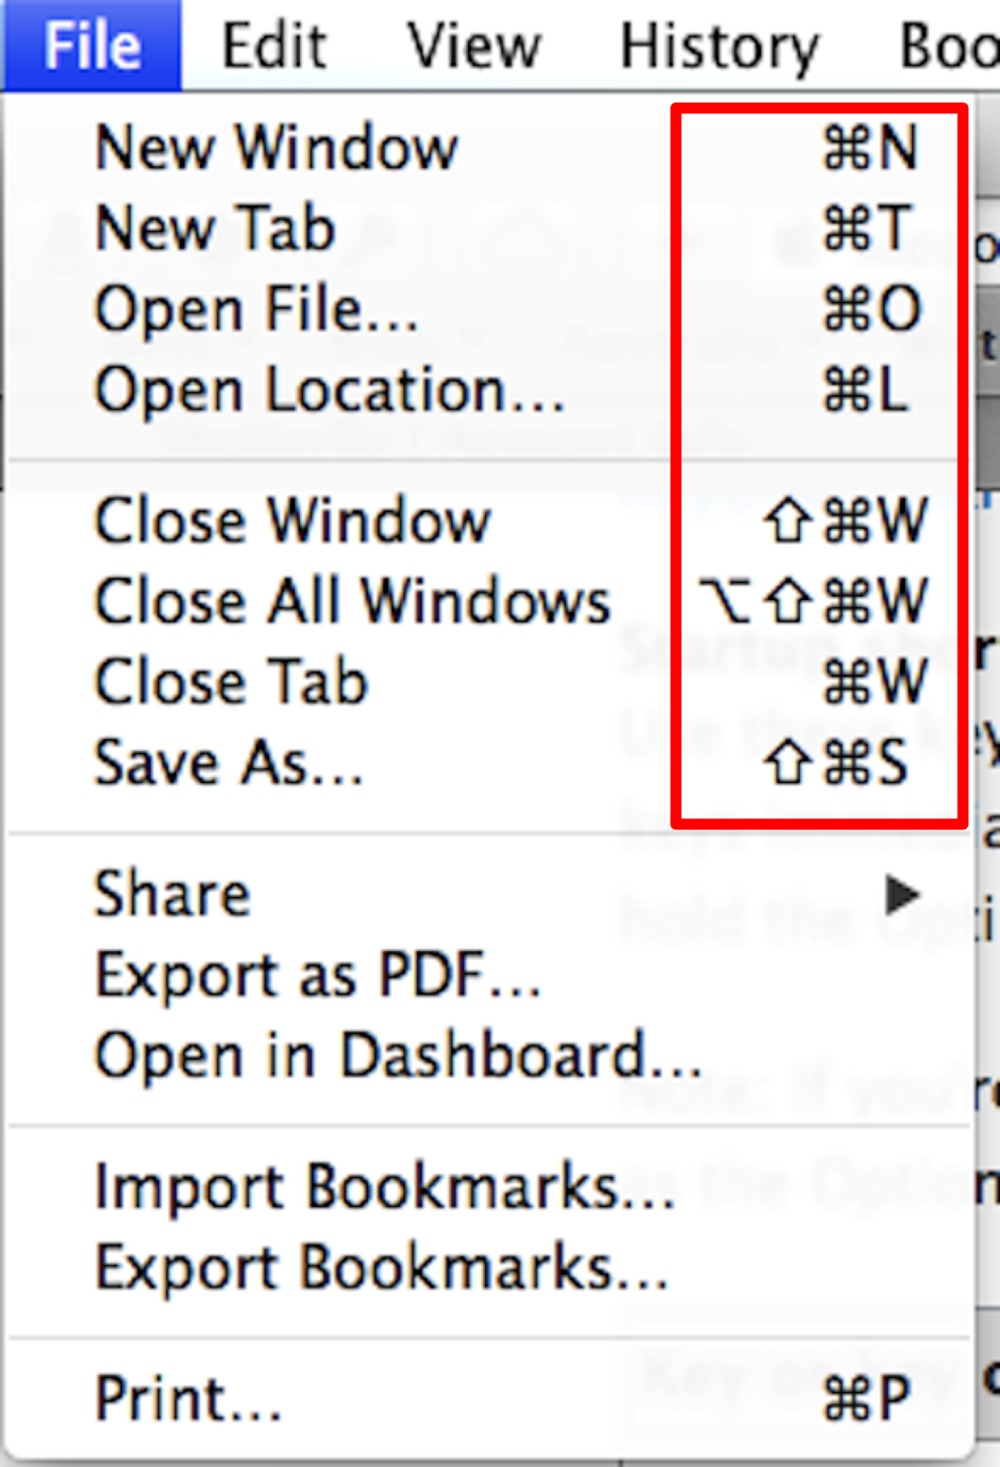 You know those funky things you see in the menus? Those actually mean something! They are a secret time saving code given to you by the geeks (I say geeks lovingly) who wrote the program. Cherish these little nuggets, as they will make you a far more proficient and efficient computer user. What are they called, you ask?
Hot Keys!
Some people call them keyboard shortcuts. Honestly, I prefer 2 syllables to 4. Far more efficient and much more exciting!
That's right~ "command s" is only one of many, yes many of these little keyboard shortcuts called Hotkeys!
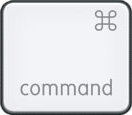
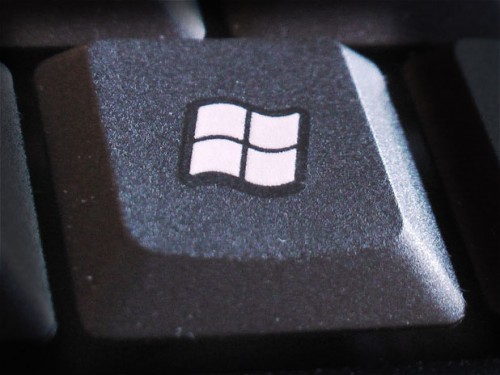
Not all hotkeys use the command button, but many of them do. Different computers have different command keys, but these are the 2 main styles.
These 2 are the most frequently used hotkeys for me. Highlight the text or image you want to copy and click: Command + c (copy) Then follow with: Command + v (paste) It's that simple people!
Have you ever gotten to a website and can't see the tiny images? Or have you opened a PDF and had to look around for the magnifying glass to enlarge? This next tip will make that easier for you! Command + - (minus~ not dash or underscore, makes the image smaller) Command + + (plus~ actually click the plus this time, makes the image larger)
Sometimes you may have 2 programs open (Word and Chrome, for example) and you would like to switch from one program to the other. No need to minimize a window... just click: Command + tab
Ever make mistakes? Right, me either. (wink) But should you make a mistake, try undo: Command + z. To redo: Command + y
For my last trick, sometimes I want to select everything. You know, all of the text in a text box, all of the text on a page, all of the pictures in an album. Just use: Command + a.
I've also included a link to a hotkeys cheat sheet FREEBIE for you to print and have near your computer while you learn! Enjoy!
 It is important to note 2 things:
1) Not all hotkeys are the same in every program.
2) You can make your own hotkeys on a Mac! I'm guessing you can do the same on a PC, but as far as I could tell, you'd have to download a program to do that. Mac users: System preferences/ keyboard/ text tab. You're welcome!
It is important to note 2 things:
1) Not all hotkeys are the same in every program.
2) You can make your own hotkeys on a Mac! I'm guessing you can do the same on a PC, but as far as I could tell, you'd have to download a program to do that. Mac users: System preferences/ keyboard/ text tab. You're welcome! Side note: I used a hotkey 43 times while writing and posting this one document. If you image that it takes about 3 seconds to move my hand to the mouse, navigate the mouse, click, and return my hand for each one of those instances, I saved 2.15 minutes. Okay, that seems far less impressive. But when you are a busy teacher or an even busier parent, 2.15 minutes can make a world of difference. Add that up over multiple documents, over multiple weeks, and you will have gained an extra prep time!


 Posts
Posts


